
Hey there! I’m back again with another blog post and this time I’m touching a little bit with WiFi pentesting! Why WiFi pentesting? Well because it’s a topic that practically got me started on my journey in cybersecurity and networking and I wanted to share some things I’ve learned.
In this post, I’ll be talking about preparing your own home lab, what tools you’ll need, as well as going through the process of setting up a vulnerable router! So without further ado, let’s get started shall we?
Preparing the Lab
When preparing a home lab for Wi-Fi pentesting, there’s three things you’ll need:
- A laptop or computer with Kali Linux installed on a VM (I’ll be using VirtualBox)
- A router that supports Wi-Fi Protected Setup (WPS)
- A wireless adapter that supports monitor mode
In this home lab, I’ll be using a TP Link router, more specifically an Archer c50 and a TP Link adapter TL-WN722N. There’s a bit of intricate detail going on with these specific models, which I’ll go over in bit. I’ll leave the links below if you’re also interested in building the exact same lab.
Setting up the router
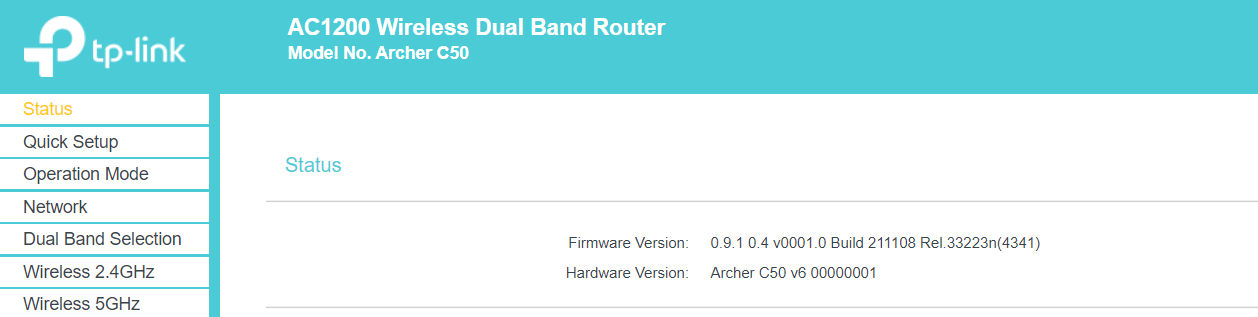
The Archer c50 is a router that supports both 2.4Ghz and 5Ghz Wi-Fi, furthermore it supports both Access Point (AP) and Range Extender mode on top of Router mode. For now, we’ll configure the router using router mode only. To get started, it’s as simple as powering on the device and connecting to it.
Since the router works out of the box and by default starts in router mode, we’ll connect to the gateway through Wi-Fi connection. Every router should have a default password and an SSID (Network name) at the bottom of the device, so we’ll connect using that.
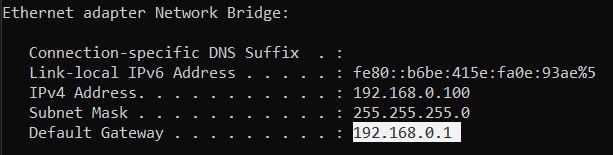
There’s no internet connection and that’s to be expected, since it’s not connected to a modem. Next step is to find our default gateway’s address using ipconfig. Every gateway should end in .1 on most LANs, and likely to be in a class C network 192.168.X.1
We can access our router’s web portal by typing the IP address into the URL bar.
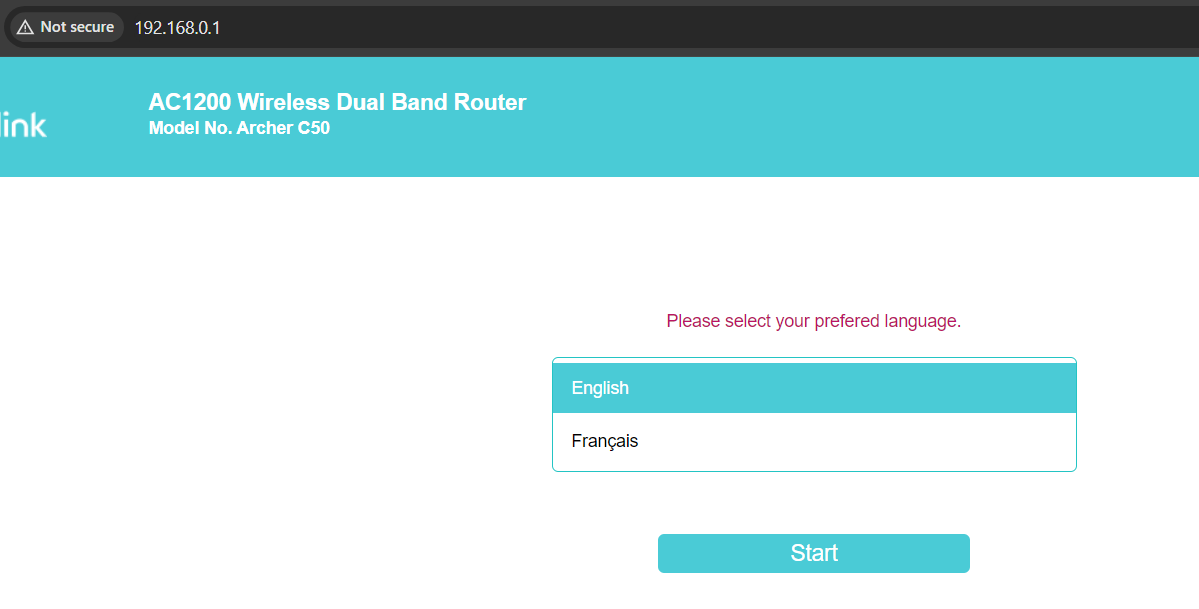
Quickly go over the steps to setting up your router, all router configuration setups differ depending on vendor. In this case, I’m asked to create the password for the administrator. Once that’s done I have access to the router.
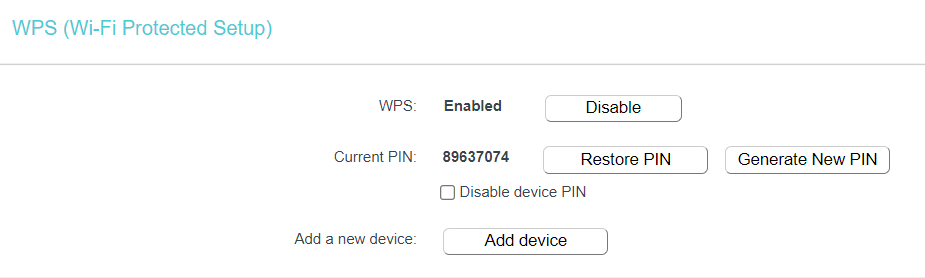
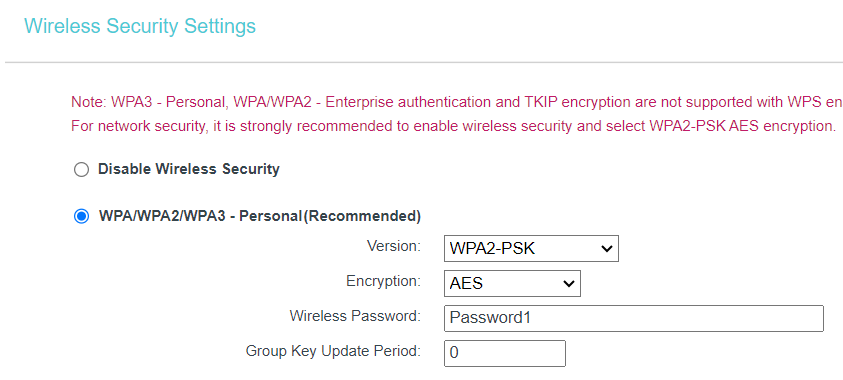
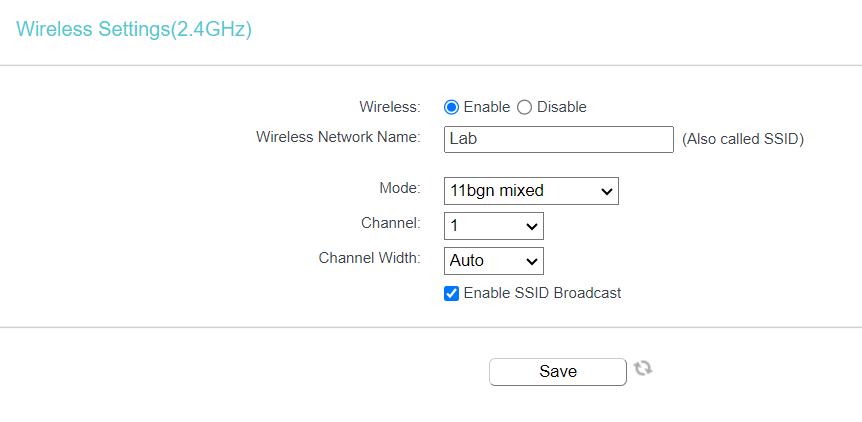
Once we’re done, there are two things we’ll need to setup for this lab: Wi-Fi Protected Setup and The Wi-Fi password on 2.4Ghz
What about 5Ghz? We’re not going to set this up since the wireless adapter we’re using only supports 2.4Ghz. If you have an adapter that does support 5Ghz and monitor mode, feel free to enable it.
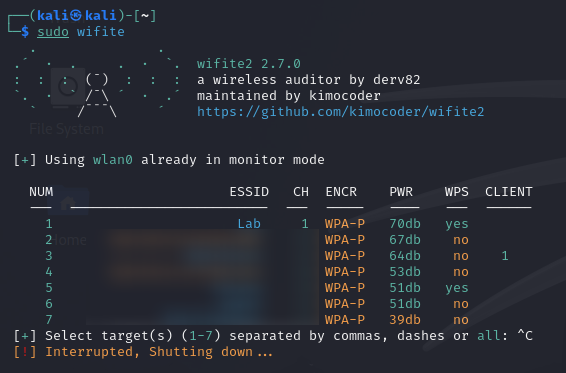
For simplicity, I’ll set the WPS Pin as the default and set the Wi-Fi password with WPA2-PSK as Password1. I’ll change the SSID to Lab as well as listening on channel 1.
And that’s it for router configurations!
Choosing an Adapter
As mentioned before, we’ll need an adapter that supports monitor mode. The make and model of the adapter does not determine if it supports monitor mode, you’ll need to do a bit of research regarding the chipset of the adapter you have and see if it does support it on top of which Wi-Fi frequencies it supports.
For ease, I’ve chosen the TL-WN722N which has the chipset Atheros AR9271 which only supports 2.4Ghz Wi-Fi.
I’ll leave a few links for your own research:
- Cell Stream: https://www.cellstream.com/2024/03/25/a-list-of-usb-wi-fi-adapters-that-support-monitor-mode/
- Wireless Shack: https://www.wirelesshack.org/best-kali-linux-compatible-usb-adapter-dongles.html
- David Bombal’s Video on Adapters: https://www.youtube.com/watch?v=5MOsY3VNLK8
What is monitor mode?
On a high level overview, it allows the adapter to perform packet sniffing and packet injection.
By default, most wireless devices are in Managed mode, meaning that we’ll only receive packets if the destination address on the frame is set to our device’s MAC Address. With monitor mode, we’ll be able to see and intercept EVERY packet around us. This is very important if we’re planning on experimenting with attacks such as Deauthentication attacks and MITM attacks such as evil twins and rogue APs.
Setting up the Adapter
Depending on the adapter, you may or may not need to read this section entirely. A lot of Wireless adapters generally work out of the box with Kali Linux, however for the TL-WN722N, depending on the version, you’ll need to perform some extra steps.
If you have v1 of the model, you can skip this section, or if you have a different Wi-Fi adapter that works out of the box with Kali. If you have v2 or v3, follow the steps ahead.
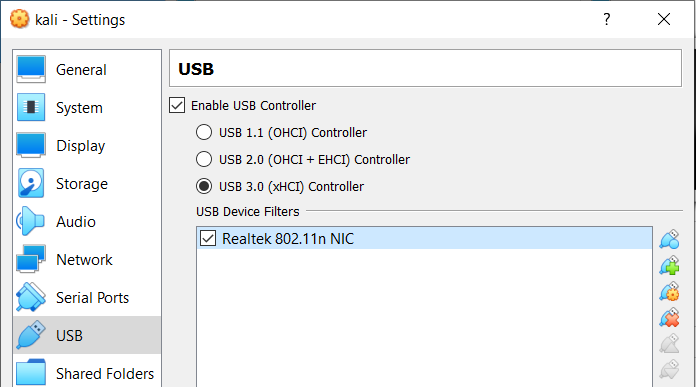
Plug in the adapter and on Virtual Box, we’ll go to Settings > USB > Enable USB Controller and add the adapter
sudo apt update
sudo apt upgrade
sudo apt-get dist-upgrade
reboot
sudo apt-get install linux-headers-$(uname -r)
sudo apt install bc
sudo apt-get install build-essential
sudo apt-get install libelf-dev
sudo apt install dkms
sudo rmmod r8188eu.ko
git https://github.com/drygdryg/rtl8188eus
cd rtl8188eus
sudo -i
echo 'blacklist r8188eu'|sudo tee -a '/etc/modprobe.d/realtek.conf'
reboot
cd rtl8188eus
sudo make && make install
reboot
Above are the steps that got my wireless adapter working, as David Bombal’s solution for a one command line install didn’t work. Below you’ll find the source.
Source: https://github.com/drygdryg/rtl8188eus
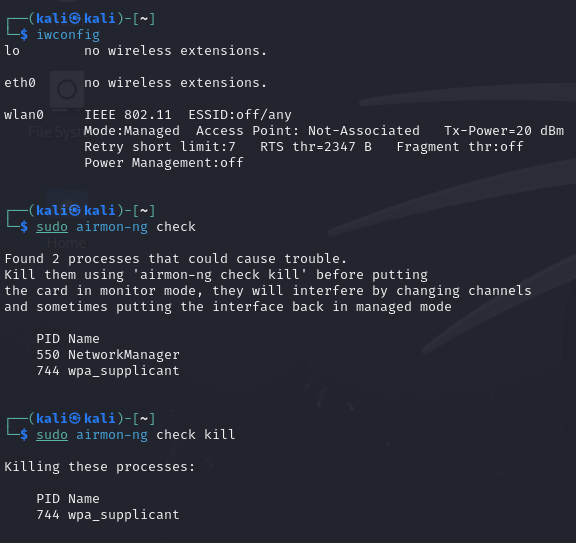
Once The driver is installed, we can perform a few checks to see if the adapter is recognized and can go into monitor mode.
## Checks to see if the adapter is recognized
iwconfig

## Checks for processes that could interfere with monitor mode
airmon-ng check

## Kills the process
airmon-ng check kill

## Start monitor mode and check to see if it's monitor mode
airmon-ng start <wireless-interface>
iwconfig
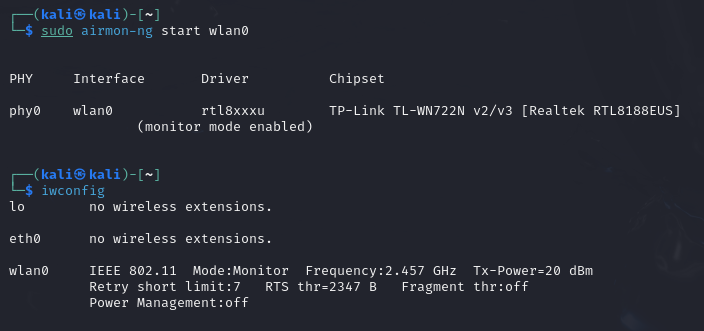
If you see monitor mode enabled, you’re all setup! We can try to see if we can capture packets by doing sudo wifite which is a tool I’ll talk about in future posts!